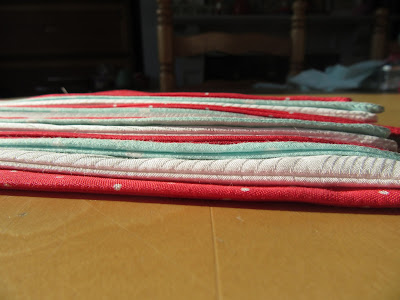
In keeping with my plan to buy as little as possible I have raided the rag bag of old clothes that I have kept to reuse the fabric. One of Hubby's old white shirts and a set of green PJ's that no longer fit me provided the perfect Christmas colour combination along with some left over fabric from my spotted red top.
Before I went any further I visited this post on that cute little cake's blog giving 10 things you should know before you make your first bunting. It highlighted things that I hadn't even thought about and without a doubt saved me from making a complete hash of things.
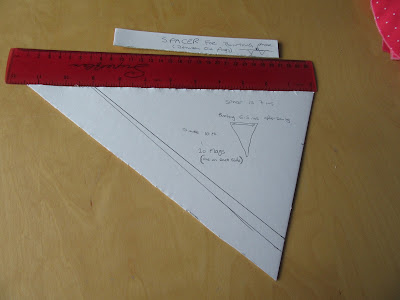
I made a template using a piece of card and some bunting I had brought a few years ago, I drew around it and added 1 cm seam allowance. The measurements including seam allowance are on the top 19 cm (approx 7.5 ins). Down the middle 27 cm (approx 10.5 ins). Along the side 28.5 cm (11.25 ins). I also made a small card to act as a "spacer" between the flags this measures 17.5 cms (approx 7 ins).
Using an approximate calculation of one flag and one spacer being a little over 30 cms (1 foot), you can then calculate how long many flags you need to cut out to get your bunting to the right length. Remember to cut two so if you want 10 flags you will need 20 flags cut out.
A simple sewing task, put the two pieces face to face leaving the wrong side of the fabric on the outside on both sides. sew only the two long side as the top is enclosed in the binding. Trim the seams and turn through, poke the point out at the bottom using a chopstick or knitting needle and give it a press with the iron to give it a good crisp edge. Clip off the "ears" that are sticking up at the top.
I will admit to making one purchase for this project and that it the twill tape, I had nothing in that was suitable. Work out how much tape you will need allowing some at each end to tie it in place. I used 3 lengths of the spacer but this may have been too generous. Press the tape in half, I popped a few pins in to keep it together just because there is so much of it!
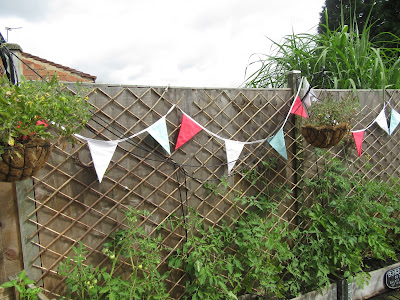
Organise you flags in the order you want them to be in the bunting I went red, white, green. Mark off the amount you need to tie up the bunting then lay the first flag and pin in place so that the top is sandwiched between the tape. use the spacer to work out where the next flag needs to go and continue along. Now is the time to make any changes you want before you sew everything in place. Sew along the tape to secure everything in place,
By choosing light colours this could easily have been left in the garden over the summer but I am looking forward to it going up in winter to add a splash of colour.
This is a great way of using up small amounts of fabric, I used one PJ leg and both the fronts off the shirt along with an off cut. If you are watching the pennies it would make a lovely gift, especially if you could think of something to use instead of the twill tape, although this was only £2.88 for 10 metres on e-bay.
That is make number 6 of my 50 makes for Christmas completed with 44 to go.


No comments:
Post a Comment